110V Mini Split: Your Guide to Efficient Home Cooling Solutions
Mini split air conditioners are a popular choice for cooling spaces without the need for ductwork. For those considering a 110v model, it’s essential to understand both the convenience and efficiency they offer. A 110v mini split unit provides flexibility for various room sizes and can be an energy-efficient solution for heating and cooling.
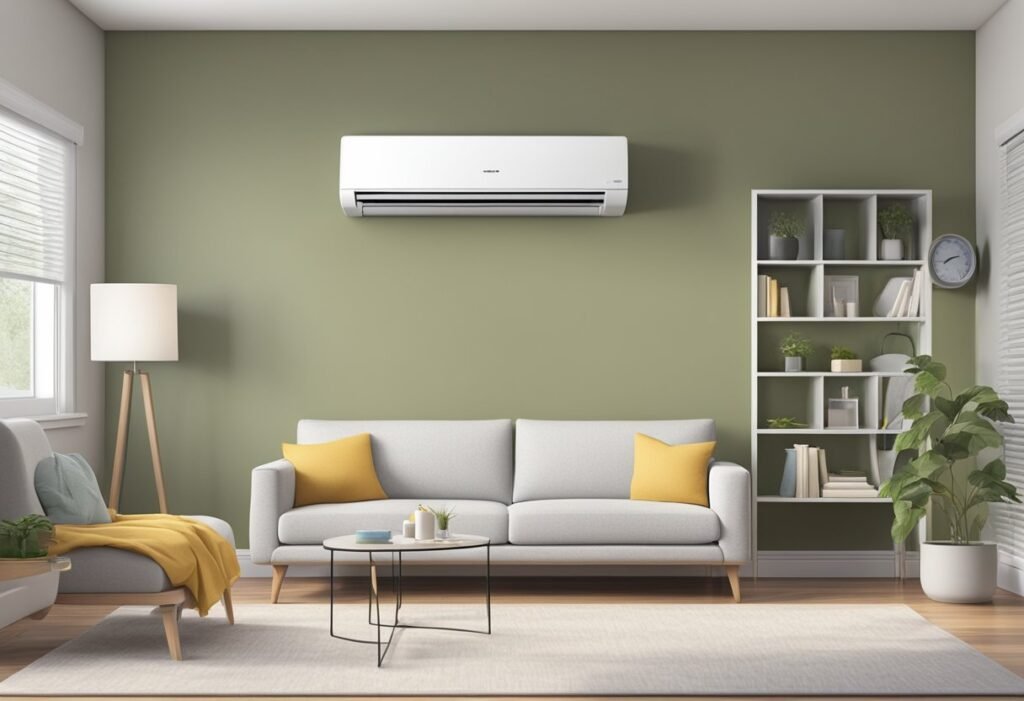
Many homeowners appreciate the quiet operation and ease of installation that mini splits provide. Units can be wall-mounted, saving floor space and allowing for better airflow. This makes 110v mini splits an excellent option for apartments, small homes, or single rooms where central air systems may be impractical or too expensive.
With features like remote control and smart technology compatibility, such as the ability to work with Alexa, these systems cater to modern lifestyles. They not only keep rooms comfortable but also add a touch of convenience that makes them an appealing choice for many.
Understanding 110V Mini Split Systems
110V mini split systems are efficient solutions for heating and cooling spaces. These units are smaller and generally easier to install. They are suitable for homes and offices where larger systems may be too costly or unnecessary.
Basics of Mini Split Technology
Mini splits are ductless heating and cooling systems. They consist of two main parts: an indoor unit and an outdoor unit. The indoor unit blows conditioned air into the room, while the outdoor unit contains the compressor and condenser.
These systems use refrigerants to transfer heat. In summer, they act as air conditioners, removing heat from inside and pumping it outside. In winter, they can work as heat pumps, pulling heat from the outside air to warm the indoor space.
A 110V mini split generally has lower power needs compared to 220V systems. This means they typically use less electricity, making them economical for many users. Many models also come with an eco mode for added energy savings.
Advantages of Choosing a 110V Mini Split
Choosing a 110V mini split has several advantages. One key benefit is the cost. These systems are generally less expensive to purchase and install than their 220V counterparts. For smaller spaces, they often provide adequate heating and cooling without excess energy use.
Installation is simpler, requiring fewer materials and less time. Many 110V units can plug into standard electrical outlets, reducing the need for additional electrical work.
Maintenance is also straightforward, as they have fewer components compared to larger systems. The compact design makes them easier to clean and service. With a growing range of efficient models available, 110V mini splits are a great option for those looking to save money and energy while keeping their spaces comfortable.
Selecting and Installing Your 110V Mini Split

When choosing a 110V mini split, it’s important to look for key features that suit one’s needs. Proper installation is also crucial for optimal performance and efficiency.
Key Features to Consider
When selecting a 110V mini split, several features matter. First, check the SEER rating (Seasonal Energy Efficiency Ratio). A higher SEER rating means better energy efficiency and lower utility bills.
Next, consider the BTU rating, which determines the cooling or heating capacity. It’s essential to match the BTU rating to the size of the room for effective climate control.
Another aspect is the AHRI certification. This indicates that the system meets specific performance standards. Remote control accessibility is also important for convenience.
Lastly, pay attention to the outdoor unit and indoor unit design. They should fit well in the intended locations without causing disruptions.
Installation Essentials
Installation of a 110V mini split can be handled by a professional, which ensures it is done right. They have the skills to manage connections between the outdoor unit and the indoor unit.
An installation kit is usually included with the unit. This kit contains essential components such as refrigerant lines, electrical wiring, and mounting brackets.
It is vital to drill a hole of about 2 to 3 inches for the lines and wire. Care should be taken to angle the hole slightly downward to allow for proper drainage.
Consideration should also be given to the positioning of the indoor unit for optimal airflow. Ensure it is away from obstacles and ideally located in the middle of the room.
Related Post

Blue Ridge Mini Split: The Perfect Solution for Year-Round Comfort
Blue Ridge Mini Split systems are gaining attention for their efficiency in both heating and [...]
Best Mini Split Air Conditioners: Top Picks for Cool Comfort
Mini split air conditioners offer a flexible cooling solution for homes without ductwork. These systems [...]